Relay Dashboard: Communications Tab
Communications:
- At the bottom right side of Dash is your communication panel, this allows you to communicate via Dash, no matter what tab you are viewing.
- The pink microphone allows for you to reply to the channel or direct chat that you are on. Press and hold the pink microphone to send your message.
- If you have a message you can play from this panel, by pressing the play triangle.
- If you want to send a message to another channel, select change channel and pick from the list of the pop-up screen.
- If you have Relay's Essentials or Pro Service Plans, you can place a call by clicking the "Call" button and then selecting the device you want to call from the pop-up screen.
- For more information on calling, reference this article
- Any notifications you have from missed messages to panic alert notifications will be displayed by a pink dot on the Notifications icon.
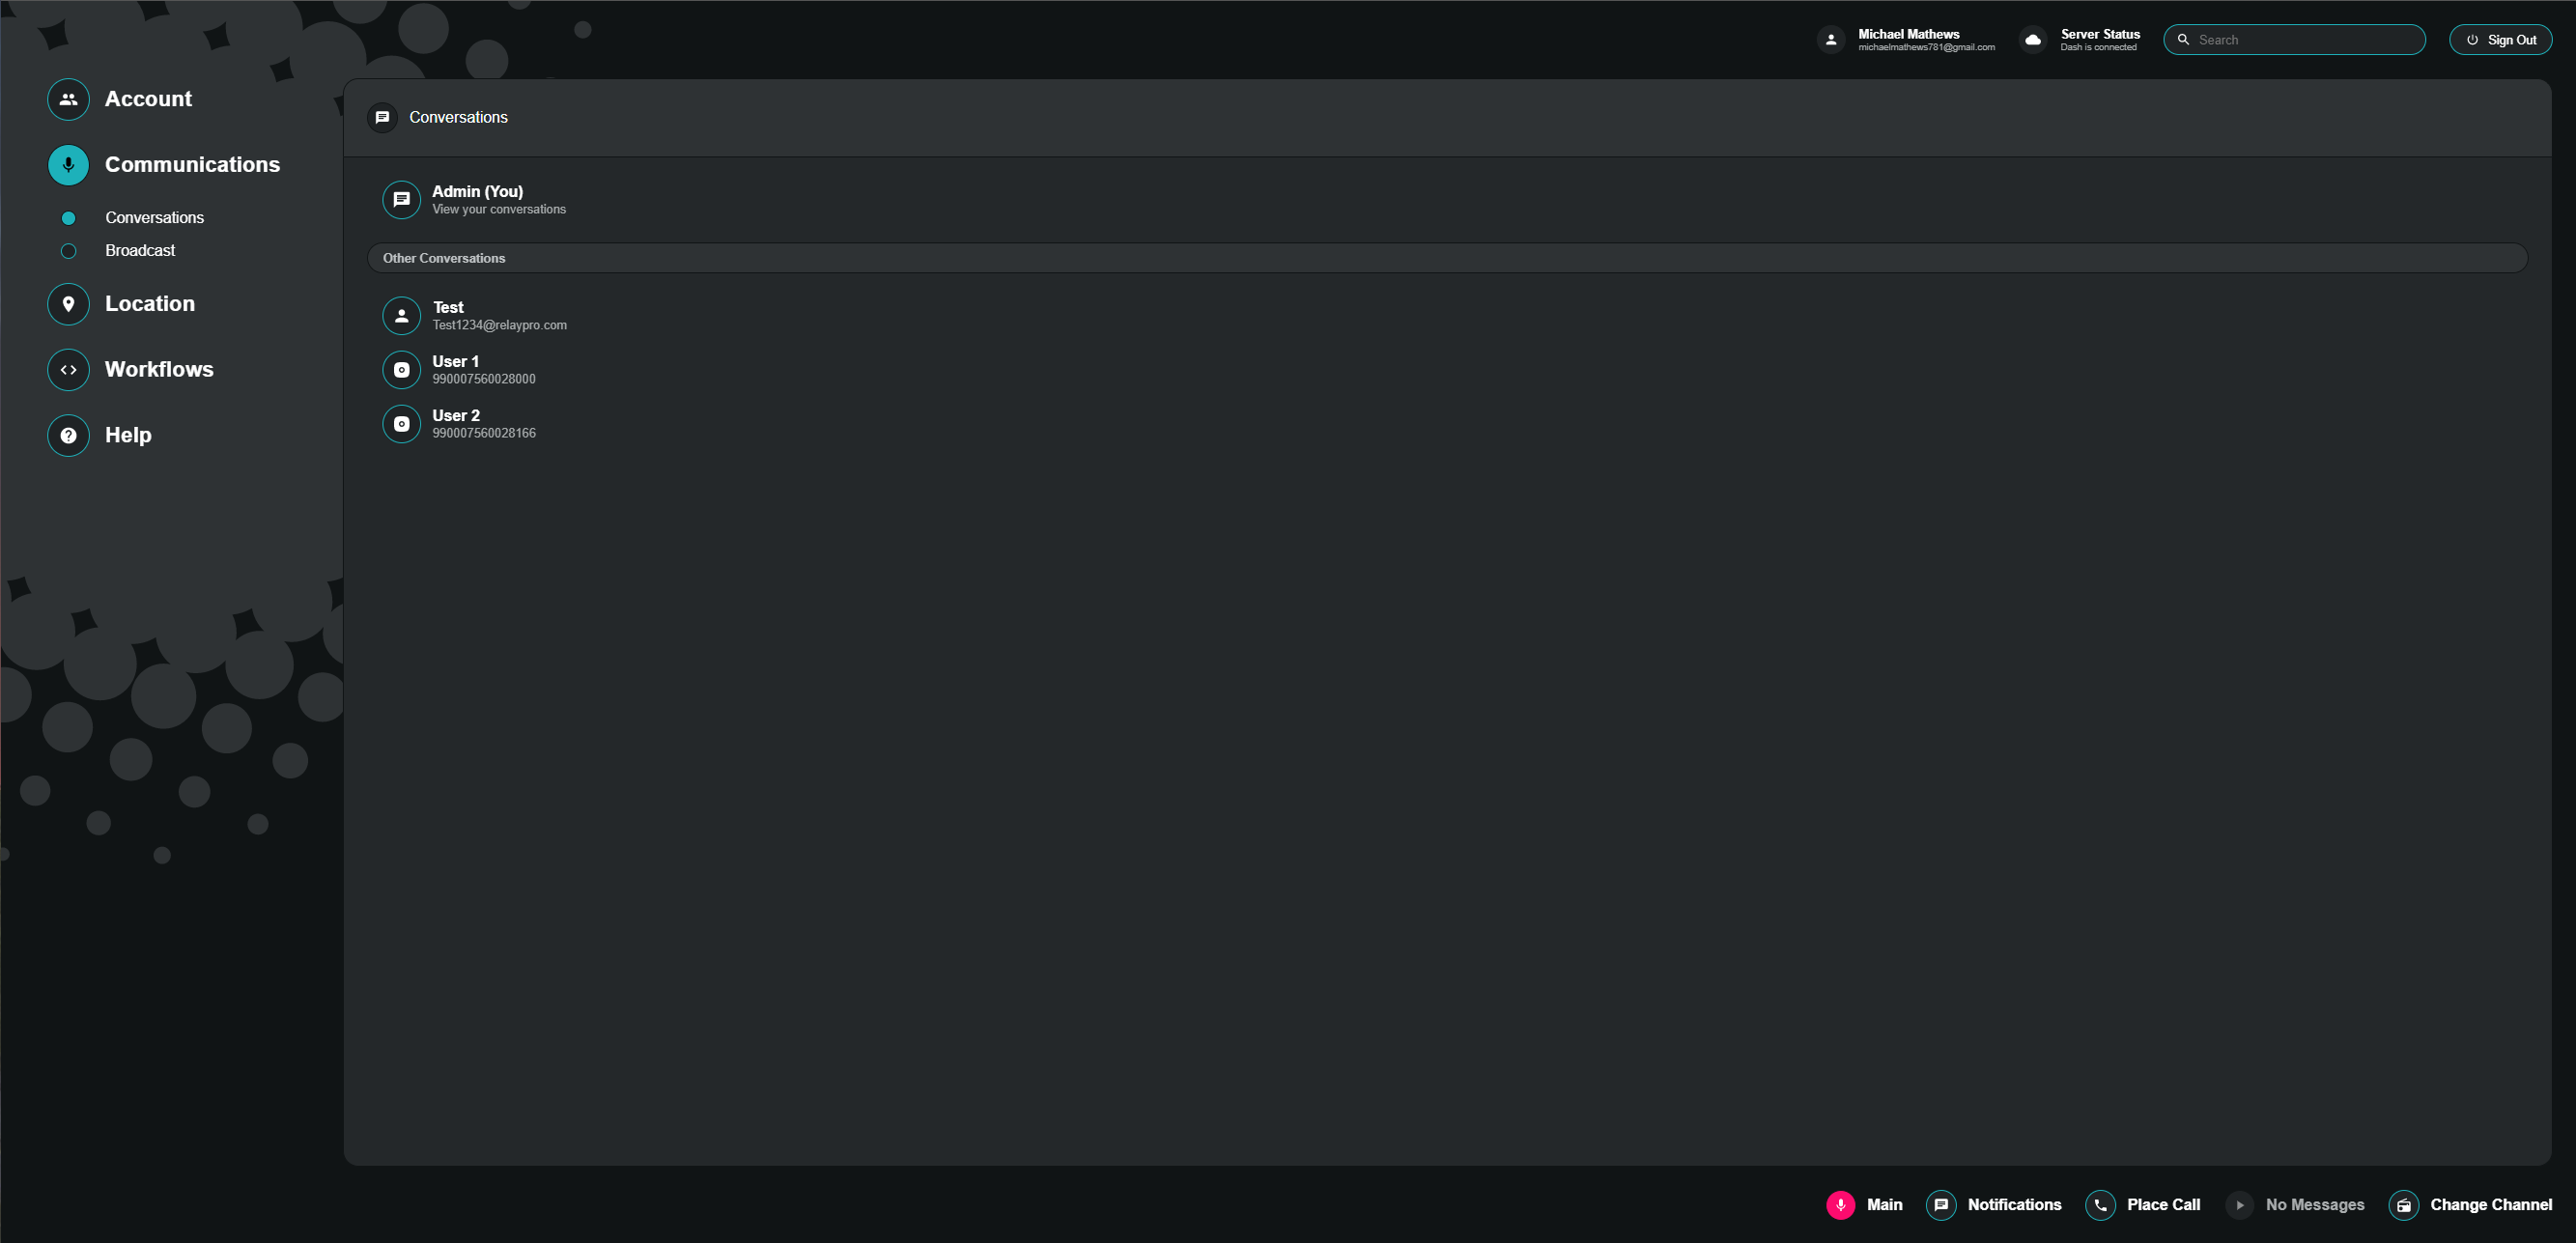
- The Communication tab allows you to view conversations if you have Message Persistence enabled for your hardware and software Relays. Any stored messages will be saved for 7 days for you to re-play.
- Channel Management such as summoning devices to your current channel or enabling Auto Channel Change is on the right side of the Communications tab.

- If you have a Pro Account, you can create a Broadcast from the communication tab. Broadcast allows you to send a message to devices or groups. You can choose if the message needs to be acknowledged or not. Once a Broadcast is scheduled it will be listed here as well.
- Broadcast can be repeated or one-time use, with an option to acknowledge or just set as a quick announcement.
- If selecting for a broadcast to repeat, please keep in mind that you need to select a start date first and then select the day it needs to be repeated for. If you are setting a Broadcast for devices in another timezone, there is now an option to select your time zone for that certain Broadcast, otherwise, it will default to your time zone.
Related Articles
Relay Dashboard: Location Tab
Overview The Location tab allows you to manage and view indoor and outdoor locations, along with indoor building management and history. Indoor Locations This view will showcase your list of devices and their last reported indoor location. You can ...
Relay Dashboard: Account Tab
Overview The Account page within Dash is where you can manage your Relay account's users, channels, and additional settings. The account page consists of the following sub-categories: Fleet Overview Fleet overview serves as your home screen within ...
How Relay Calling Works
Objective To better understand how Relay Calling works on a device, the Relay Pro App, and Relay Dashboard Environment / Applies To Essentials, Pro, and Enterprise Service Plans Relay Devices Dash Relay Pro App Overview Relay calling creates a ...
How To Edit Panic or Incident Configuration
Objective: To better understand how to edit Panic and Incident Responder Groups within the Relay Dashboard Environment / Applies To: Dash Panic and Incident Configuration Procedure: Log into Dash at dash.relaypro.com Click into the Incidents Tab ...
How to Remit a Payment to Relay
Objective To better understand how to remit a payment to Relay Environment / Applies To All Relay Service Plans Procedure During account onboarding, all Relay accounts are created with agreed-upon payment terms and a preferred default payment method. ...